You’re staring at your project, and honestly, it looks like a disaster. That milky, white goop is smeared all over your favorite photo or a piece of wood you spent three hours sanding. It looks like Elmer’s glue on steroids. You’re probably wondering: did I just ruin this?
The short answer is yes, Mod Podge dries clear. But there’s a massive "but" coming. While the bottle promises a transparent finish, anyone who has spent enough time in a craft room knows that "clear" is sometimes a relative term. Sometimes it stays cloudy. Sometimes it looks like a foggy windshield. Most of the time, though, it’s just a matter of waiting out the chemistry.
Why does it look so white right now?
Basically, Mod Podge is an acrylic-based medium. When it’s wet, the acrylic particles are suspended in water, which scatters light and makes the liquid look white or "milky." As the water evaporates, those particles move closer together and fuse into a solid, transparent film.
It’s a transformation.
If you see white streaks ten minutes in, don't panic. That is completely normal. Most of the time, user error—not a defective bottle—is why things go south. If you’ve ever slathered on a layer so thick it looks like cake frosting, you’ve hit the first major hurdle.
The thick layer trap
I've seen it a thousand times. You’re in a hurry, so you dump a huge glob on the surface, thinking "more is better." It isn't. When the top layer of a thick glob dries, it creates a "skin." This skin traps the moisture underneath. Since the water can't evaporate through that plastic-like barrier, the Mod Podge stays white and "goopy" indefinitely.
In some cases, it might stay white for weeks. If you’re lucky, it eventually clears up. If you’re not, you’re left with a permanent white blob.
Different formulas, different "clears"
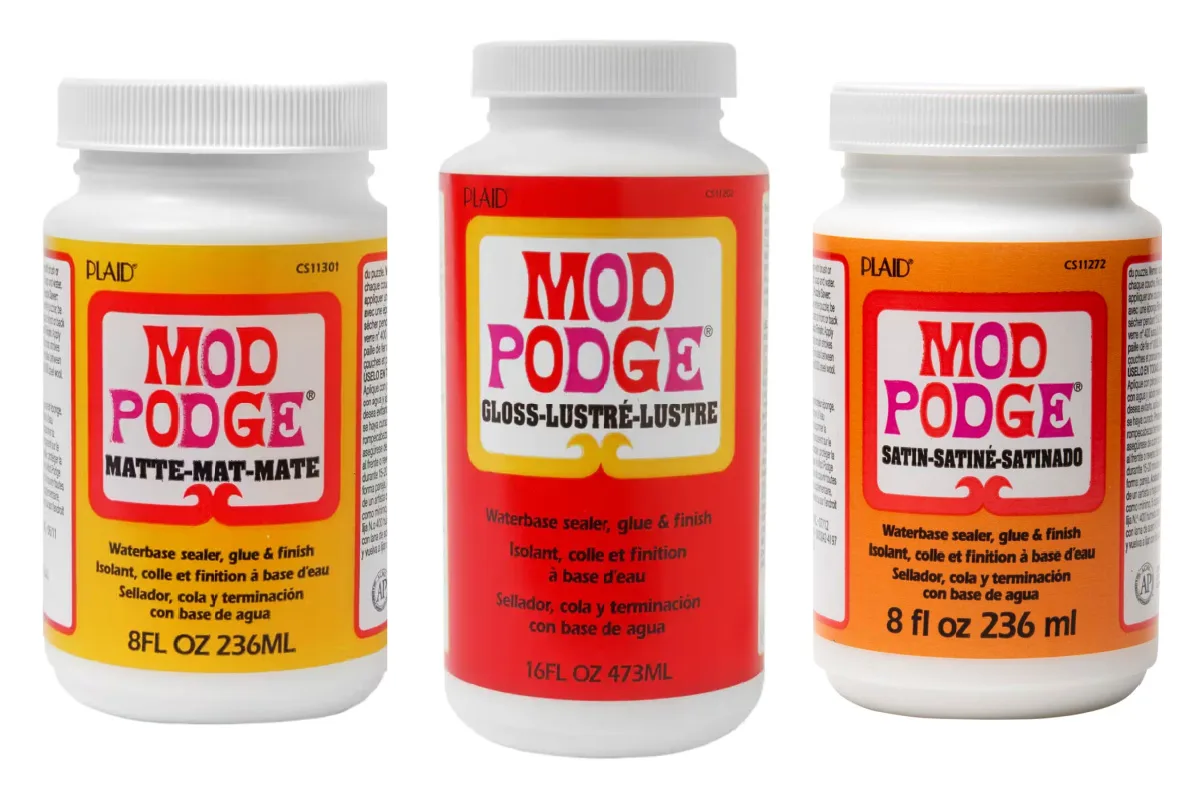
Not all Mod Podge is created equal. Plaid Enterprises (the folks who make the stuff) has developed about twenty different versions, and "clear" means something slightly different for each one.
- Gloss: This is the gold standard for clarity. It dries with a high shine and usually offers the most "see-through" result.
- Matte: This dries clear but has a duller finish. Because it contains flatting agents to kill the shine, it can sometimes look a bit "cloudier" than the gloss version if you apply too many layers.
- Satin: A middle ground. It’s got a soft glow, sort of like an eggshell paint.
- Outdoor: This one is a bit thicker and more durable. It dries clear, but it’s known for having a slightly longer "milky" phase.
- Dishwasher Safe: This requires a 28-day cure time. Yes, almost a month. It dries very clear, but if you wet it before that month is up, it can turn cloudy again.
Why your Mod Podge didn't dry clear
If you’ve waited 24 hours and you still see white spots, something went wrong. Here are the most common culprits.
Humidity is the enemy.
If you're crafting in a basement in the middle of a July heatwave, your Mod Podge is going to struggle. High humidity slows down evaporation. In extreme cases, the moisture in the air can even react with the drying glue to create a permanent haze.
The "Small Vessel" Problem.
Amy Anderson from Mod Podge Rocks—who is basically the world's leading expert on this stuff—once shared a story about decoupaging the inside of a small glass jar. It stayed white for days. Why? No airflow. If you’re working inside a container, the air inside becomes saturated with moisture, and the drying process just... stops.
Old or "Skunked" Glue.
Mod Podge has a shelf life of several years, but it’s not immortal. If it has been stored in a garage that freezes in the winter or bakes in the summer, the emulsion can break. If the liquid in the bottle looks chunky or smells like sour milk, throw it away. It will never dry clear.
The "White Spot" Fix
If you have a project with stubborn white spots that won't go away, try a hair dryer. Set it to a low, warm (not hot) setting and keep it moving. Sometimes, just a little extra heat is enough to kickstart the evaporation that got stuck. Just don't get too close—you don't want to melt the acrylic.
Drying vs. Curing: The mistake that ruins projects
People use these words interchangeably. They shouldn't.
Drying happens when the water leaves. Usually, Mod Podge is dry to the touch in 15 to 60 minutes. It looks clear. You think you're done.
Curing is a chemical process where the acrylic molecules cross-link and harden into their final state. This takes much longer. For standard Matte or Gloss, it’s usually about 4 weeks.
If you put a "dry" but not "cured" coaster on a table and then put a heavy mug on it, the two surfaces will bond together. You’ll go to pick up your coffee and take the whole coaster with it. Or worse, the finish will peel right off. Always give your projects a few days of "rest" before you really start using them.
Real-world tips for a crystal clear finish
Honestly, if you want that professional, "is that glass?" look, you have to change how you apply it.
- Thin layers are the law. Two thin layers are infinitely better than one thick one. Use a foam brush or a high-quality synthetic bristle brush.
- Sand between coats. This sounds like a pain, but it’s the secret. Once a layer is dry, hit it very lightly with #400 grit sandpaper. Wipe away the dust with a tack cloth. This removes "ridges" and brush strokes that catch the light and make the finish look less clear.
- Watch your paper choice. Cheap printer paper is porous. When you hit it with wet glue, the ink can bleed or the fibers can lift, creating a "fuzz" that looks like cloudiness. If you're using photos, try to use laser-printed ones or "seal" the photo with a quick spray of clear acrylic sealer before you start the Mod Podge process.
- The "Saran Wrap" trick. If you’re worried about bubbles (which look like white spots), use a piece of plastic wrap to smooth the paper down. It lets you apply pressure without tearing the wet paper or getting your fingers stuck.
What to do if it stays cloudy
Sometimes you do everything right and it still looks "off."
Check your lighting. Because Mod Podge is a plastic film, it can sometimes have a slight "blue" tint in certain types of LED or fluorescent lighting. This is just physics. If it's truly white and opaque, you might need to sand it back.
If the cloudiness is buried under several layers, you can't really "fix" it without removing the layers. You can try the hair dryer trick, but if it’s been a week and it’s still white, it's probably trapped for good. The best move is to sand down the cloudy area and re-apply a very thin, fresh coat.
Moving forward with your project
To get the best results on your next project, stop treating Mod Podge like a "one and done" glue. It’s a finishing medium.
- Test first: Always do a "swatch" on a scrap piece of the same material.
- Environment matters: If it’s raining outside, maybe wait until tomorrow to do your final topcoat.
- Patience: If the bottle says wait 20 minutes between coats, wait 40.
If you’re working on something that’s going to see a lot of wear—like a tabletop or a tray—consider a final coat of a clear acrylic spray sealer (like Minwax Polycrylic or the Mod Podge branded sprays) once the glue is dry. This adds an extra layer of protection and can help even out the sheen, making everything look much more uniform and transparent.
Next Step: Check the bottom of your Mod Podge bottle for a "Best By" date or any signs of yellowing. If you're starting a new project today, start by applying a single, paper-thin layer to a test scrap and timing how long it takes to go from milky white to completely transparent in your current room temperature.