You’d think in an age where we can beam a holographic-ish message across the planet in seconds, the humble envelope would be dead. It isn't. Not even close. Whether you’re dealing with a prickly landlord, applying for a dream job that actually requires a cover letter, or just trying to be a decent human being and write a thank-you note that doesn't look like a toddler did it, knowing a solid send a letter format is basically a superpower. It’s the difference between looking like a professional and looking like someone who forgot how paper works.
Most people panic. They stare at the blank white space and wonder if they should put the date on the left or the right. Honestly? It depends. But there are rules that haven't changed since the days of fountain pens, and sticking to them makes you look infinitely more credible.
Why the Send a Letter Format Isn't Just for Boomers
There is something visceral about physical mail. USPS still processes hundreds of millions of pieces of mail daily for a reason. Digital fatigue is real. When you follow a proper send a letter format, you are signaling that the recipient's time is worth the five minutes you spent formatting and the price of a stamp.
It’s about hierarchy. A well-formatted letter guides the eye. If your contact info is buried or the date is missing, you’re making the recipient work. Don't make them work. They are already busy.
The Block Style vs. Modified Block
Most business letters today use "Block Style." Everything is aligned to the left margin. No indentations. It looks clean, modern, and—most importantly—it’s easy to type.
Then you have "Modified Block." This is where the sender’s address and the date start at the center point of the page. It feels a bit more "Old World." Use this if you’re writing to a law firm or maybe a very traditional university. If you aren't sure, just stick to the left-aligned block style. It’s hard to mess up.
The Anatomy of a Letter That Works
Let’s break down the actual pieces. You start with your information. This is your "Letterhead" even if you don't have fancy embossed paper.
1. Your Contact Information
Put your name, address, and maybe your email or phone number at the very top. Don't put your name in the address block if you're going to sign it at the bottom, though some people do it anyway just to be safe.
2. The Date
Skip a line. Write the date out. Don't do 01/15/26. It looks lazy. Write "January 15, 2026." It adds a level of formality that tells the reader this isn't a grocery list.
3. The Recipient’s Address
This is the "Inside Address." You need the person’s name, their title (if applicable), the company, and the full mailing address. If you don't know the person's name, "Hiring Manager" or "Customer Service Department" works, but try to find a name. LinkedIn exists for a reason. Use it.
The Salutation: "To Whom It May Concern" is Dead
Seriously, stop using it. It’s cold. It’s robotic. It feels like you’re mass-mailing a complaint about a faulty toaster.
If you can't find a name, use "Dear [Department Name]." If you have a name, use "Dear Mr. Smith" or "Dear Ms. Jones." If you know them well, "Dear Bob" is fine, but if you’re searching for a send a letter format online, you’re probably writing something formal. Stick to the last name and a colon instead of a comma. A colon (:) says "Business." A comma (,) says "Hey, how’s it going?"
Writing the Meat of the Letter
The first paragraph should be your "Why." Why are you bothering this person?
"I am writing to formally request a refund for..."
"I am thrilled to submit my application for..."
Get to the point. No one wants to read three paragraphs of "hope this finds you well" fluff. Be direct. Short sentences are your friend here. They create impact. They show confidence.
The middle paragraphs are where the details live. If you’re complaining about a product, give the order number. If you’re writing a cover letter, talk about the specific project that proves you aren't just bluffing on your resume. According to the Gregg Reference Manual, which is basically the Bible for professional writing, your goal is clarity above all else.
Closing Like a Pro
You’ve made your point. Now, what do you want them to do?
"I look forward to hearing from you by the end of the week."
"Thank you for your time and consideration."
Skip a few lines. Use "Sincerely" or "Respectfully." If you want to sound slightly less formal but still professional, "Best regards" is the gold standard for 2026. "Yours truly" feels a bit like a Victorian romance novel, so maybe skip that unless you’re actually in one.
The Physical Envelope: The Part Everyone Messes Up
You can have the most beautiful send a letter format on the inside, but if the envelope looks like a mess, it might not even get opened.
- Return Address: Top left corner. Always.
- Recipient Address: Center of the envelope.
- Stamp: Top right.
If you’re sending something international, make sure the country name is in all caps on the bottom line. The machines at the sorting facility prefer it. Don't use fancy cursive on the envelope either. The optical character recognition (OCR) software used by the postal service is good, but it’s not magic. Make it legible.
Common Mistakes to Avoid
People often forget the "Enclosure" note. If you’re putting a check or a resume in the envelope with the letter, type "Enclosure" or "Encl." at the very bottom, below your signature. It’s a courtesy. It tells the recipient, "Hey, there’s more stuff in here, don't throw the envelope away yet."
Another big one? Not proofreading for "the." It sounds silly, but people often double-type small words when they’re focused on the big ones. A professional letter with a "the the" in the second sentence is a tragedy.
Font Choice Matters
Don't use Comic Sans. Just don't.
Times New Roman is safe, but it's a bit dated. Arial or Calibri are standard. If you want to look truly sophisticated, try something like Georgia or Garamond. These are serif fonts (the ones with the little feet) that are designed for readability on paper. They feel grounded and authoritative.
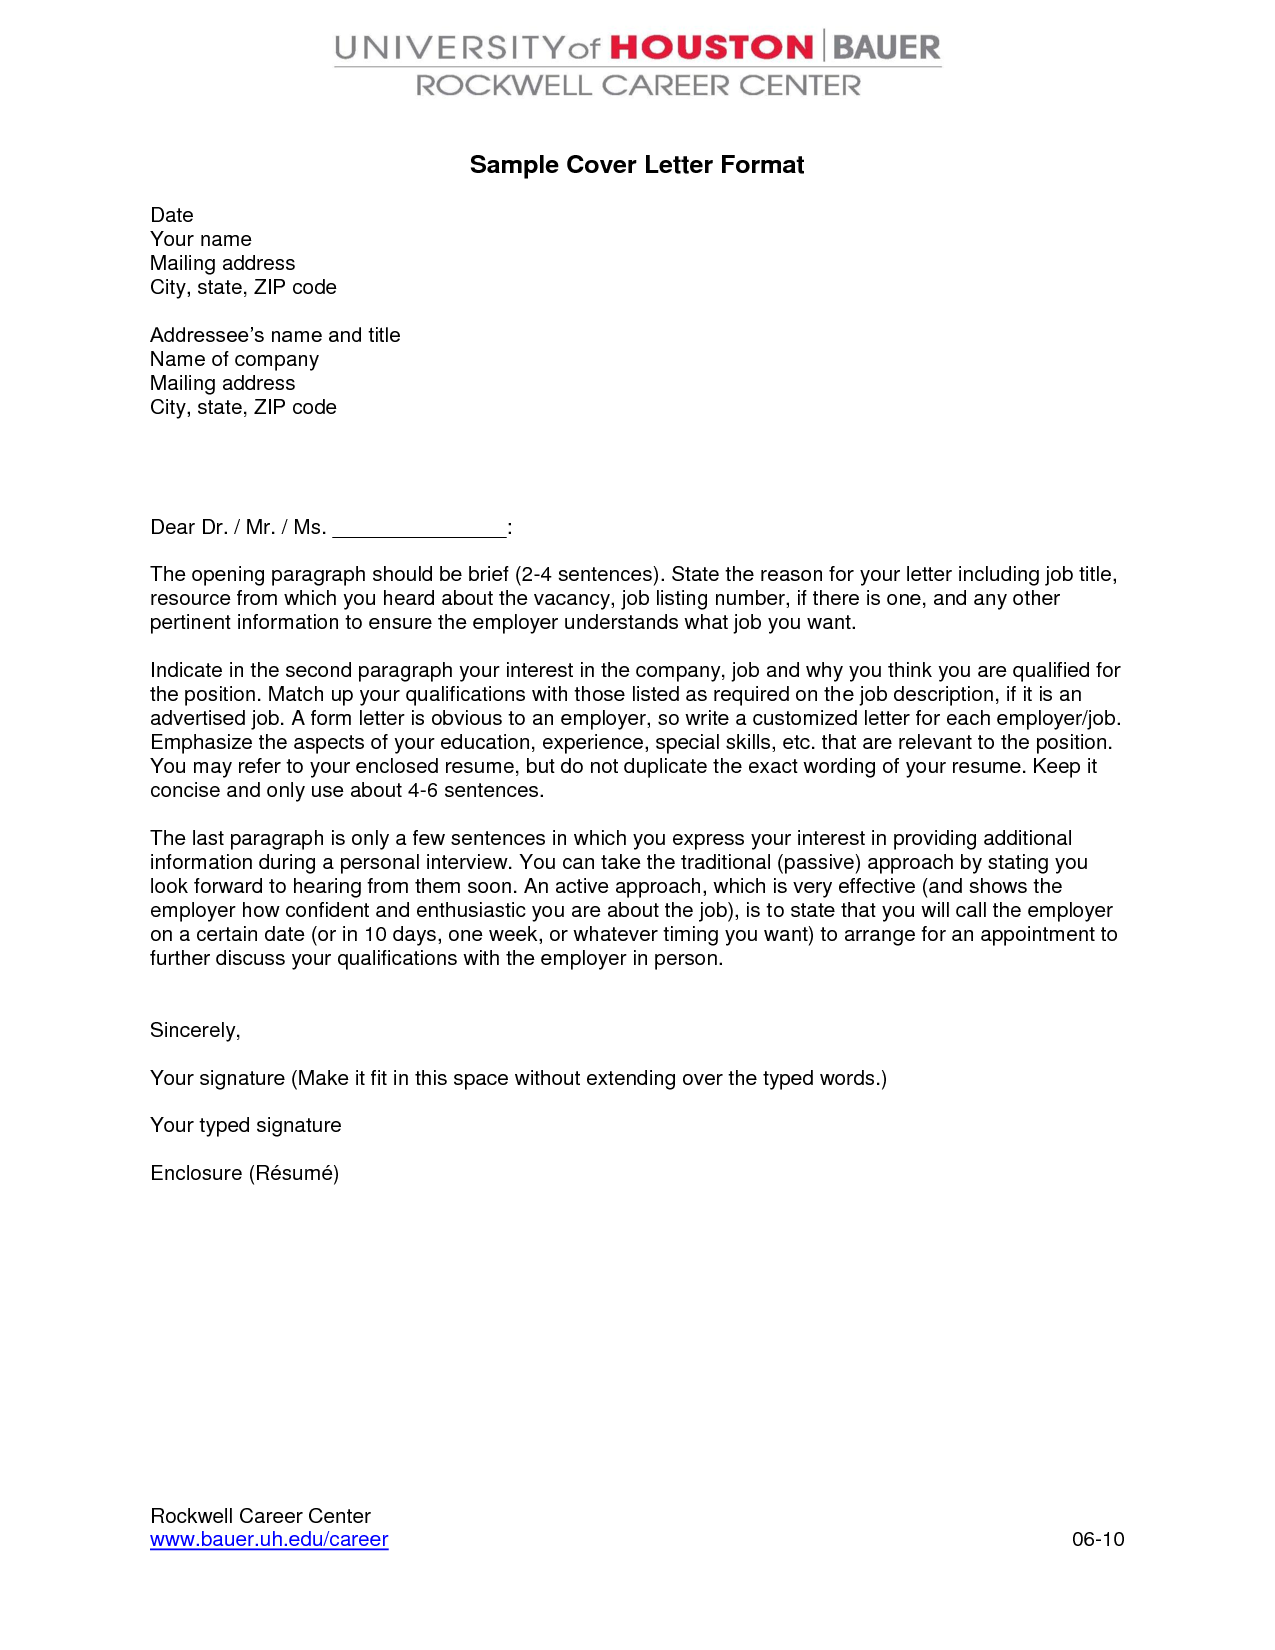
Putting it All Together: A Sample Structure
While every letter is different, the skeleton usually looks like this:
[Your Name]
[Your Street Address]
[City, State, Zip Code]
[Current Date]
[Recipient Name]
[Title]
[Company Name]
[Street Address]
[City, State, Zip Code]
Dear [Name]:
[Opening Paragraph: State your purpose immediately.]
[Middle Paragraph: Support your purpose with facts, figures, or details. Keep it concise.]
[Closing Paragraph: Call to action or a simple thank you.]
Sincerely,
[Your Signature]
[Your Typed Name]
Actionable Steps for Your Next Letter
Before you lick that envelope, run through this checklist. It takes two minutes and saves you from looking like an amateur.
- Check the margins. Ensure you have at least a one-inch margin on all sides. It creates "white space" that makes the letter less intimidating to read.
- Verify the recipient's title. Calling a "Dr." a "Mr." is an easy way to get your letter moved to the bottom of the pile.
- Sign it in blue or black ink. Never pencil. Never felt-tip marker that bleeds through the page. A crisp ballpoint or fountain pen signature is the mark of a pro.
- Use quality paper. If this is a high-stakes letter (legal, job application, formal apology), don't use the cheap, thin printer paper that feels like a napkin. Use 24lb or 32lb bond paper. It has weight. It feels important.
- Double-check the stamp. Postal rates change. Make sure you have enough postage, especially if your letter is more than a couple of pages thick.
Writing a letter is a lost art, but following the correct send a letter format is really just about following a proven template. Once you internalize where the pieces go, you can focus on the actual message. People notice when someone takes the time to do things the right way. It stands out in a world of rushed emails and misspelled texts. Grab a pen, find some decent paper, and send that letter.