You’re out in the garage, grease on your knuckles, looking at a hunk of sharpened steel. It’s Saturday. The sun is beating down, and the lawn is looking like a jungle. You just sharpened the blade—or maybe you bought a brand new one—and now you’re staring at the underside of the deck. Suddenly, you realize you can’t remember which way do lawn mower blades go on. It happens to the best of us.
Seriously.
Putting a mower blade on upside down is one of those "hidden" mistakes that homeowners make every single season. You might think it doesn't matter that much. It's just a spinning piece of metal, right? Wrong. If you get it backwards, you aren't actually cutting the grass. You're bludgeoning it. You’re hitting every blade of grass with a blunt, flat edge at three thousand RPMs. The result? A lawn that looks white or brown on top because the grass fibers have been shredded and torn rather than sliced clean.
The Wing Must Fly
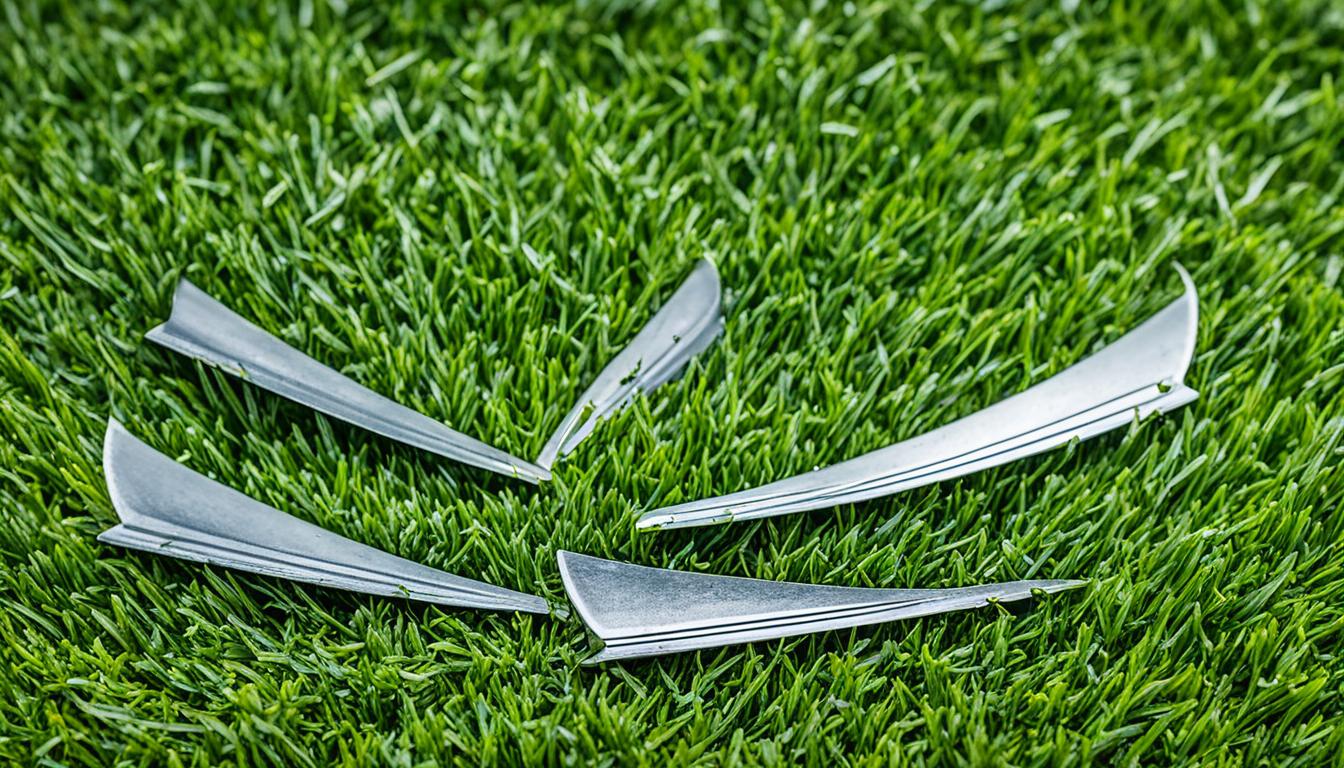
If you remember nothing else from this, remember the "wing." Almost every standard lawn mower blade has a curved part on the back, opposite the sharp edge. This is often called the lift wing or the "sail."
This part of the blade is designed to create an upward draft of air. Think of it like a fan. As the blade spins, that curved wing sucks the grass upward so it stands tall, allowing the sharp edge to lop the top off cleanly. The wing must always point toward the mower deck. In other words, the curve should be pointing up, toward the engine, and away from the dirt.
If you see that curved part pointing toward the ground, stop. You’ve got it upside down. If you bolt it on like that, the blade will actually push the grass down against the soil before it even has a chance to cut it. It’s basically a high-speed hammer at that point.
Deciphering the Markings (When They Aren't Rubbed Off)
Manufacturers like Honda, Toro, and John Deere aren't trying to trick you. Most of the time, they stamp instructions right into the metal. Look closely. You’ll usually see words like "THIS SIDE TO GRASS" or "BOTTOM." Sometimes it’s the opposite. You might see "THIS SIDE TO ENGINE." It sounds foolproof, but after three years of hitting sticks, rocks, and thick damp grass, those stamps get pitted and worn. If you can’t read the text, don’t guess. Use the "Sharpened Edge Rule." The sharpened, beveled edge of the blade should be the side leading the rotation, and the bevel (the slanted part of the edge) should face the sky, not the grass.
Most mowers spin clockwise when you are looking down from the driver's seat (or behind the handle). This means when you are underneath the mower looking up, the blade is actually spinning counter-clockwise. This is where people get tripped up. Instead of focusing on the rotation, just look at the edge. The sharp part needs to be the first thing that hits the grass as it moves.
Why Getting it Wrong Destroys Your Yard
Let’s talk about plant pathology for a second. Grass is a living thing. When you cut it with a sharp blade, the wound heals quickly. When you "cut" it with an upside-down blade, you are essentially "tearing" the limb off the plant.
This leaves a jagged, frayed end. This frayed end loses moisture faster than a clean cut. It also provides a massive surface area for fungal pathogens to take hold. If you’ve ever noticed your lawn looking "dusty" or "tan" a day after mowing, go check your blade. It’s either dull or it’s upside down.
Expert landscapers like those at the Professional Landcare Network (PLANET) often point out that a dull or reversed blade can increase fuel consumption too. The engine has to work significantly harder to force a blunt edge through a thick stand of Kentucky Bluegrass or St. Augustine. You’re literally burning money and killing your turf simultaneously.
The "Bolt and Washer" Sanity Check
When you're putting the bolt back in, pay attention to the washer. Most mowers use a "Bellville" washer—it looks like a slightly cone-shaped disc. The "crown" or the high point of that washer should be pressing against the blade.
And for the love of all things holy, please don't just "hand-tighten" it. But don't use a massive impact wrench to the point of stripping the threads either. Most walk-behind mowers require about 50 to 60 foot-pounds of torque. If you don't have a torque wrench, get it "snug plus a quarter turn" with a long-handled wrench.
Different Blades, Different Rules?
Not all blades are created equal. If you have a mulching blade, the geometry gets even weirder. These blades often have a "teeth" design or a wavy look to them. They are designed to keep the grass clippings circulating under the deck so they get chopped into tiny bits.
Even with these complex shapes, the rule remains: sharp edge leads the way, and the "lift" fins point toward the engine. 1. Remove the spark plug wire. (Safety first—seriously, do it).
2. Tilt the mower. Always tilt it with the air filter and carburetor pointing UP. If you tilt it with the exhaust up, oil will drain into your carburetor, and you'll spend the next hour trying to get the engine to start through a cloud of blue smoke.
3. Jam a block of wood between the blade and the deck. This keeps the blade from spinning while you loosen the bolt.
4. Check the "Boss" or the "Blade Adapter." This is the piece the blade sits on. It often has two small pins. The blade has to sit perfectly flush on those pins. If it's crooked, the vibration will be so bad it could crack your engine’s crankshaft.
Dealing With the Hub
Sometimes the blade looks the same on both sides at first glance. This is common on some older riding mowers. If the blade is perfectly flat, look at the center hole. Sometimes the hole is "keyed" or shaped like a star (common on MTD or Craftsman mowers).
If the hole is a star shape, it only fits one way. If you try to force it on upside down, it won't seat properly against the mandrels. You'll feel a gap. Never tighten the bolt if there is a gap between the blade and the mounting surface.
Real-World Expert Tips for Success
I once talked to a guy who had been mowing his lawn with an upside-down blade for three years. He complained that his mower was "junk" and that it "never picked up the clippings." The moment we flipped the blade, the mower started acting like a vacuum cleaner again.
That’s the "lift" at work.
If you aren't sure, do the "hand test" (with the spark plug disconnected!). Rotate the blade slowly by hand. Look at the sharp edge. Is it going to hit the grass first? Now look at the back of that edge. Is it curved upward to create suction? If yes, you’re golden.
Common Signs Your Blade is Upside Down:
- The mower is vibrating more than usual.
- The grass looks shredded, not cut.
- The mower is "pushing" the grass down instead of sucking it up.
- The discharge chute keeps clogging even when the grass is dry.
- You see a weird "striping" pattern where the middle of the path is uncut.
Actionable Next Steps
Before you go back out to the garage, take a breath. It’s a simple fix.
First, go pull that spark plug wire. It takes two seconds and prevents a freak accident. Second, grab a wire brush. While the mower is tipped over, use that brush to clean the underside of the deck. Scrape off the dried grass "cement" that builds up there. This improves airflow just as much as a sharp blade does.
Once the deck is clean, check the blade orientation one last time. Use a permanent marker to write "BOTTOM" on the side that faces the ground. That way, next year when you're tired and covered in grease, you won't have to wonder which way do lawn mower blades go on. You’ll have a cheat sheet written right on the metal.
Tighten the bolt, flip the mower back down, reattach the spark plug, and you’re ready to actually cut—not just batter—your lawn. Your grass will thank you by staying green, and your neighbors will wonder how you got that golf-course finish.